With Sequel Web Interface, accessing your IBM i data and Sequel objects from a browser is incredibly easy. Requiring no additional client software, SWI has always allowed you to:
- Display Sequel objects (Views, Reports, Host Tables, Scripts, Applications, and Dashboards)
- Download results to PC file formats (XLS, PDF, TXT, etc.)
- Add subtotals and/or grand totals to views
- Create graphs on the fly
- Re-sort data
- Hide columns
- Move columns (left and right)
With Sequel Web Server (SWS)*, which provides even more dynamic functionality from the browser.
The Sequel Web Server (SWS) can be installed and configured in just a few easy steps. which The server operates in conjunction with the Sequel Web Interface (SWI) Apache instance on the Power i. The SWS provides three significant enhancements:
- Access to multiple iSeries
- Multi-system dashboards
- Interactive Client Tables
A major feature of the SWS is interactive Client Tables, which allows your users to access Client Tables and manipulate the displayed table at run time just like they do from Viewpoint. Users can filter the data that is being displayed, move fields out of the table, or add them from the underlying Sequel View fields.
Before You Install Sequel Web Server
As you’re getting ready to install Sequel Web Server, which PC you use as your server should be considered. While it can be the same physical server or PC that your Viewpoint server is running on, it should be a server that can remain active and be accessible in your network environment. [See separate instructions in the Viewpoint folder on your PC for VP Server use and setup information.]
Beginning Installation of Sequel Web Server
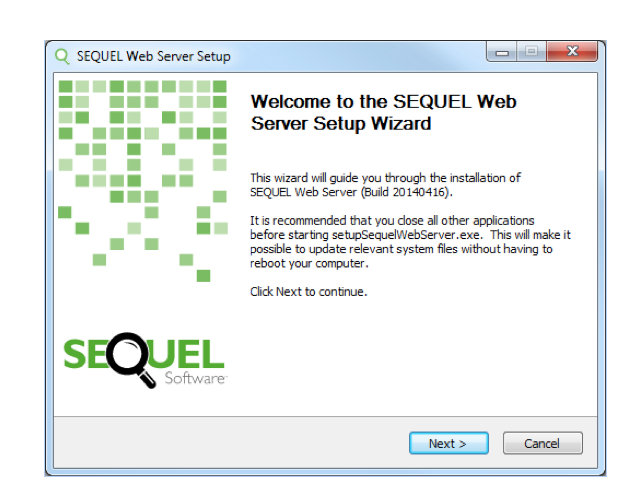
Like Sequel Viewpoint, there is an intuitive Installation Wizard to assist you. Upon start up, feel free to keep the defaults for the Wizard and simply press the Next button.
The first screen that appears after the install wizard begins requires that a SWS password be created for the ‘sequelweb’ user profile. This screen only appears the first time SWS is installed.
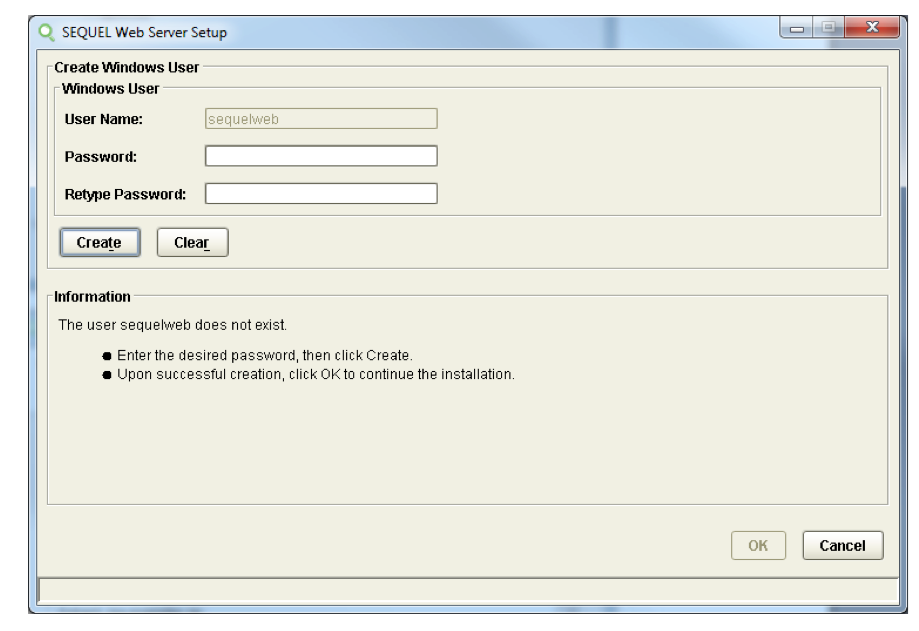
The username and password you create is what the browser will use to access the server. (It is not the user’s Power i user ID and password. Users will still be prompted at the browser for their Power i credentials to begin a SWS request.) Press Create. Once the password is accepted, press OK to continue.
The Sequel Configuration Manager screen is next and assigns the ports for the Apache Web servers. The defaults ports will be displayed automatically if they are available. If the ports are not available, enter a new port number and click Test to see if it is available.
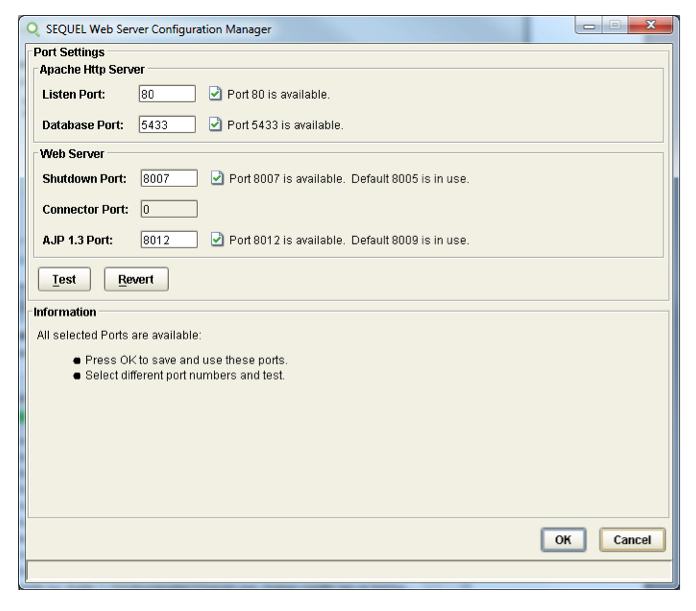
Once all ports are available, press OK to save the port information and continue.
You can then launch the SWS browser in the last panel.
Adding a Host Connection
Once the browser is launched, take special notice of the URL. It is usually http://SWSname/sequel/web/index.html. With Sequel Web Server, no specific host system is specified in the URL. You are running the browser and displaying the Explorer screen on the web server you created.
Now, you need to create a connection to the desired host systems. The host systems require a current version of Sequel and Sequel Web Interface (with valid licenses) to be installed.
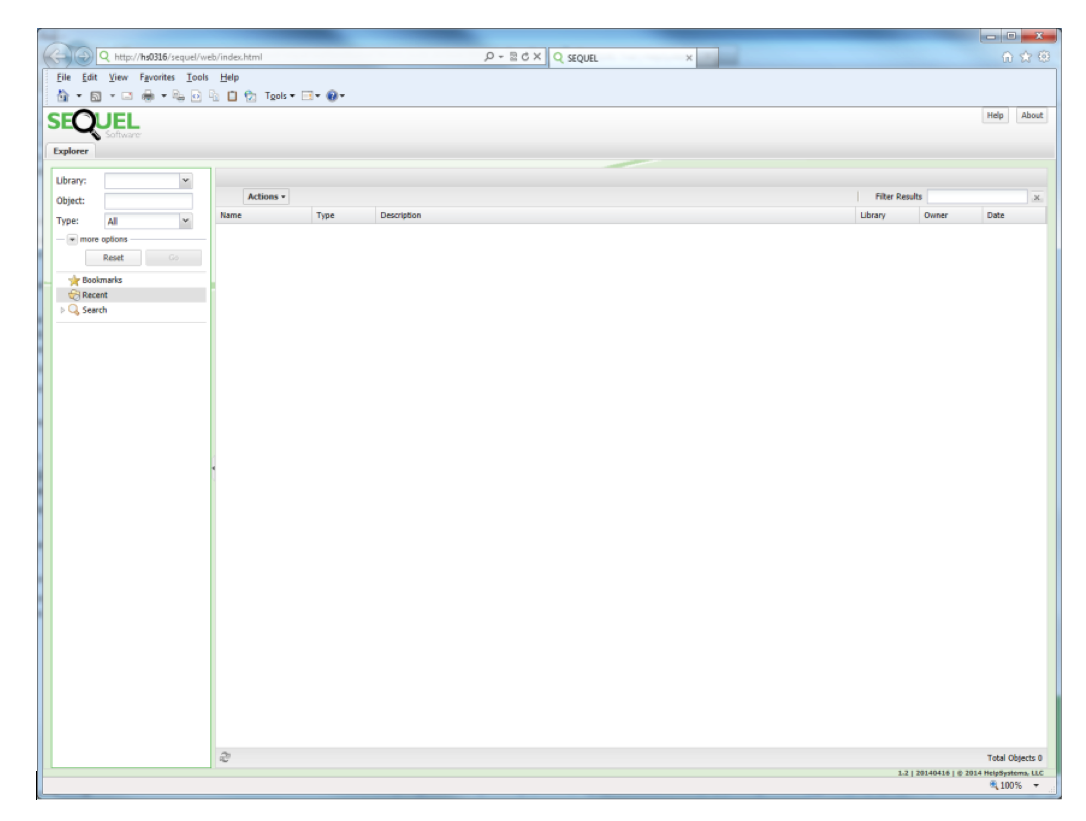
Use the Action button in the Explorer to select NEW | Host.
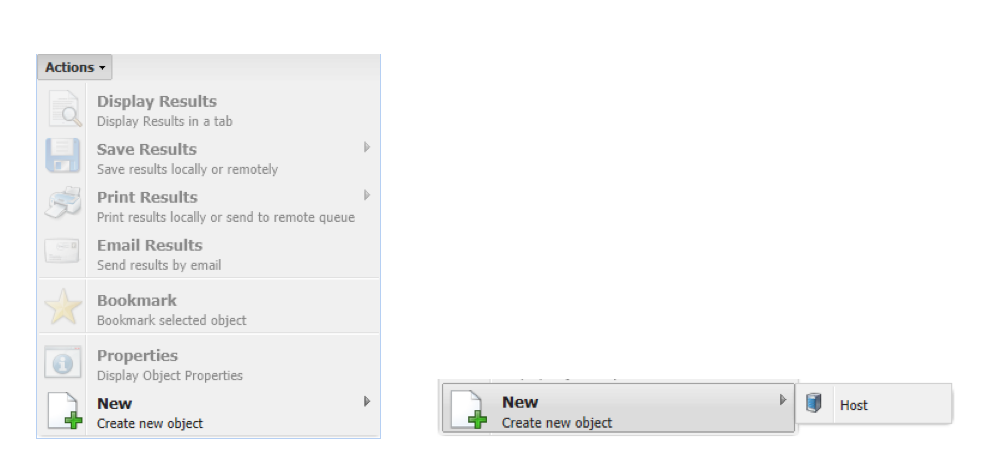
The New Host window will appear with some of the fields pre-populated.
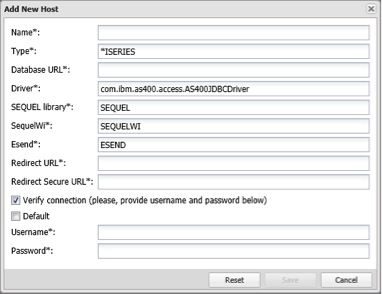
In the New Host window, enter the network resolvable name of the host system and then press the TAB key to move out of the name field. The remaining fields will automatically populate with default values based on the host name. You shouldn’t have to change any of the values except the Redirect and Redirect Secure URL strings to include the port number for the Apache server on the Power i. The port number is usually 400. In the Redirect URL fields add a colon and the port number (:400) after the name of your Power i system.
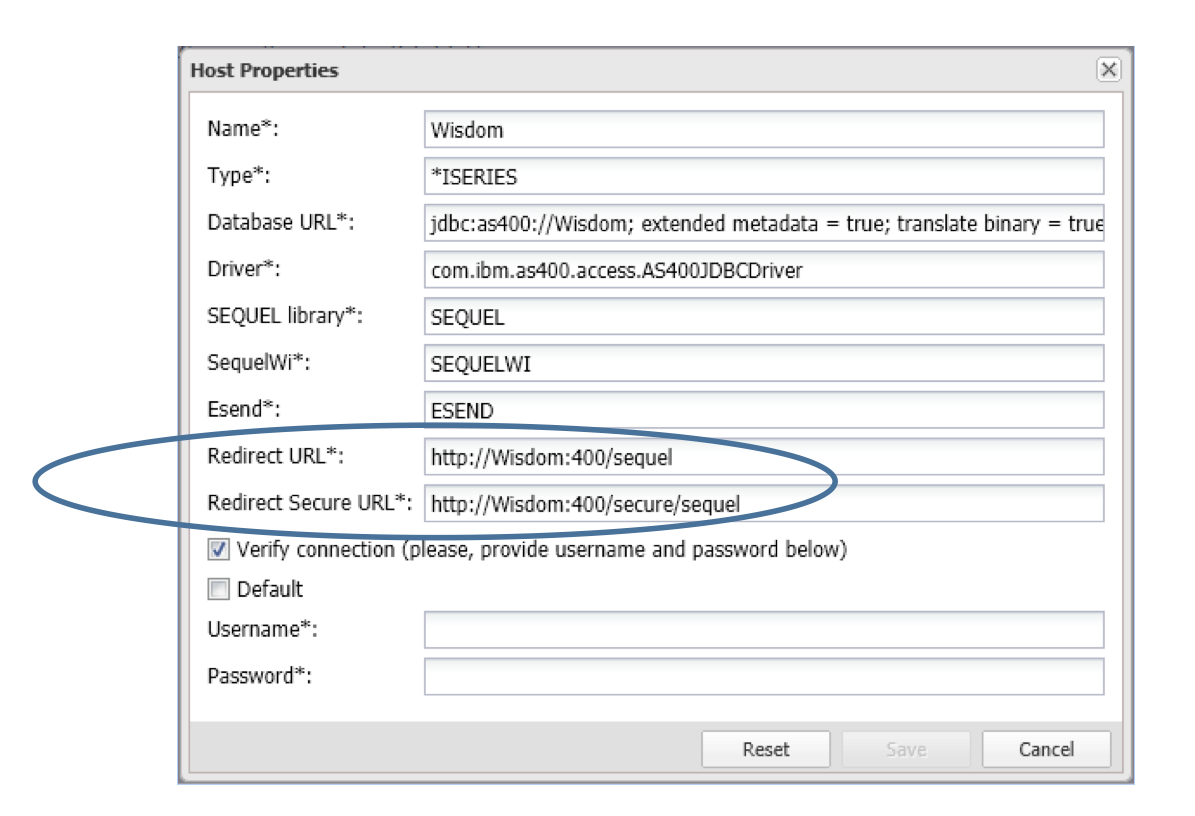
It is recommended that you leave the Default box unchecked to force users to sign on securely. However, it is possible to check the box and enter a valid Power i username and password for anonymous SWI access. Anonymous users have limited functionality in SWI.
You can leave the Verify connection box checked and enter a valid Power i username and password. When you save the connection definition you will be shown a message indicating successful connection. You can save without verification at this point by unchecking the Verify connection box.
There will now be a Host icon in the navigation panel of the SWS Explorer screen. When you click on the icon, you will be asked for a valid Power i user ID and password.
Once connected, you will have the same functionality as in Sequel Web Interface with the addition of the aforementioned multiple system Dashboards, interactive Client Tables, recent Sequel objects you have run, and the ability to view multiple iSeries in the navigation tree. You can even set bookmarks for easy access to frequently run reports.
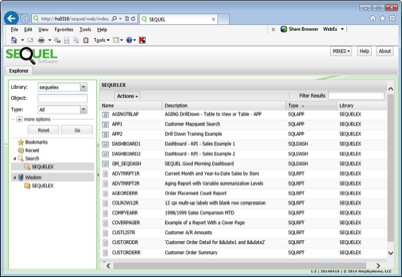
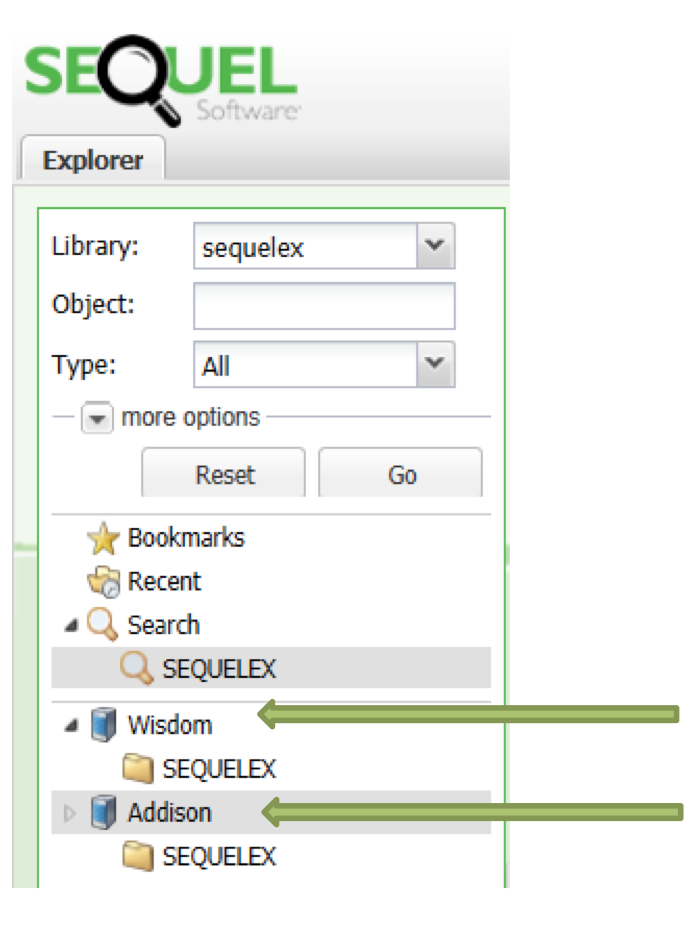
Once you add multiple Power i systems, they will appear in the left hand pane for easy access.
When Sequel objects are displayed, regardless of the host system they are being run from, new tabs will appear across the top to allow users to easily switch from one result set to another.

And Sequel Client Tables display interactively for the user to move fields, filter data, and drill into cells. Client Tables appear in summary but can easily be expanded by clicking the Actions button on the tool bar and selecting Expand All.

With Sequel Web Server in conjunction with Sequel Web Interface, users have access to real-time data without installing additional software on their PC. Data in the form of Views, Dashboards, and Tables will give managers and analysts the information they need to be more productive and make confident business decisions.
Get Started with Sequel Web Server
Sequel Web Server empowers you to take your Sequel Data Access on the go.